
In an effort to make more of the things I love -- good food, pretty things, and organized spaces -- I bring you Making An Effort Monday! It's not a huge effort, but it's an effort nonetheless!


Josephine got an adorable shopping cart for her birthday, and while her "bay" looks smashing in it, I thought she needed some food to put in that cart. So, for a few days last week I went a little felt food crazy. I found a couple of tutorials and made some up along the way, and this is what I came up with.

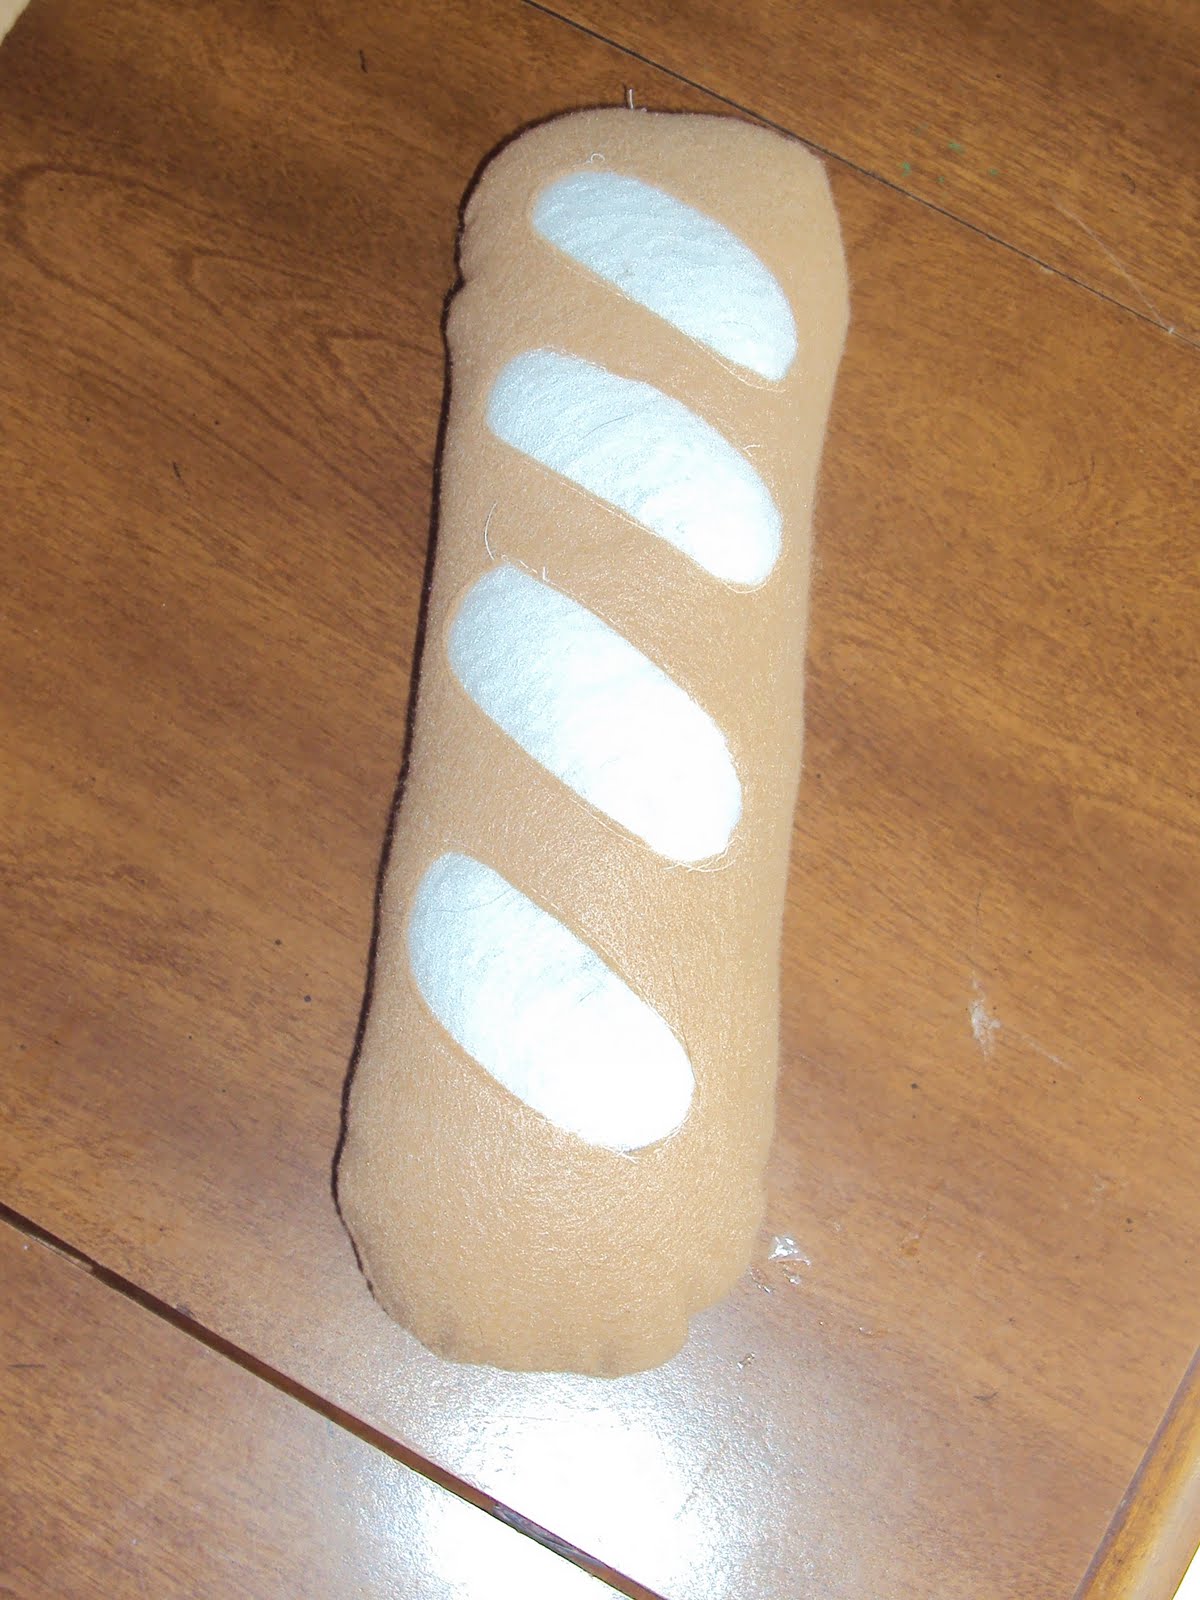
FRENCH BREAD
The first thing I decided to make was a loaf of french bread because it seemed easy, and it was. All I did was:
1. Take a sheet of light brown felt, cut it in half, and rounded off the ends of those long pieces to make the shape of the loaf.
2. Fold a little piece in half near the middle to make a snip, then cut oblong shapes out of the loaf on an angle, like so:

3. Next, I cut little pieces of white felt, just enough to cover those holes and sew in place:

4. I put the right sides facing in, pinned, sewed, leaving a few inches open, flipped inside out, stuffed, and sewed up the hole. Done!


She loves it. Can you tell?
PEAR
Next I tried a pear. I followed the tutorial HERE, which boils down to:
1. Cutting out two pieces like this and a little leaf.

2. Sewing everything together except for the bottom (the flat part) with the leaf between the two pieces of felt facing in.


3. Flipping it right side out, stuffing the pear with poly-fill and putting a running stitch all the way around the opening.


I gotta say, the idea this blogger had for the running stitch to gather the bottom is a great one. That is definitely a strategy I will utilize with future felt food. However, the shape she used left me with a rather large and shapeless pear. No worries, Josephine loves it anyway!

CARROT
Next, I tried carrots, and I've gotta say, this ended up being my favorite. I went with the basic ideas I got from the pear tutorial, and here is how I did it:
1. Cut a large triangle out of orange felt.

2. Took three strings of orange thread (you could obviously use embroidery floss, but I already had the thread, so why buy something new?) and ran a few lines of thread across the triangle, like so:

front

3. I sewed the long sides of the triangle together with the right sides facing in and flipped it right-side out.
4. Stuffed the carrot and did a running stitch around the opening (just like with the pear).
5. Cut some sort of shape out of dark green felt for the foliage atop the carrot. I just cut something that looked leafy and called it a day.
 6. Then, I stuffed the ends inside with the poly-fill, pulled the stitches tight and sewed it closed, and done!


CORN ON THE COB
Truth be told, I think this ear of corn is really cute, but I wouldn't recommend the process I used. Unless, of course you have a great deal of time on your hands and a need to get very frustrated. Therefore, I will be brief. I followed THIS tutorial and ...
1. Weaved together strips of yellow to make three shapes like the ones below, cut out yellow to go behind the weaved pieces (this was not in the tutorial, but no matter how tightly I weaved, I knew poly-fill would poke through).

2. Sewed the pieces together, right sides in.


3. Turned it inside out, stuffed it, did a running stitch around the opening, pulled it tight, and sewed it shut.


4. Cut some dark green felt into a husk shape.

Best directions ever, right? Cute corn, though:


I'm currently working on a large number of strawberries, so get excited for that tutorial in the future.
If you have questions about any of the felt food, be sure to ask, and if you make any yourself, send me a picture and I will post it.
Happy Monday! Brag about your efforts in the comments!
They all are really cute in person, too
ReplyDeletevery impressive.
ReplyDeleteThanks, mom. :)
ReplyDeleteThanks! Unless you're being sarcastic ...
ReplyDelete